
Part 6 Lesson 2: MAXIMISING DEPTH OF FIELD
The techniques in this lesson are exactly the same as last, the only difference is the reason behind the steps you need to take. When you were deliberately creating motion blur, it was the shutter speed that you chose first. This week it will be the aperture - but a long shutter speed will simply be the consequence of needing to use small apertures in anything other than midday sunshine.

Fuji XT1, 14mm, ISO320, f22, 1/100, tripod
USING SMALL APERTURES
You will remember from the early lessons that aperture affects depth of field (the apparent sharpness of your image, along an imaginary line running from your feet to the horizon). A large hole gives a small depth of field. A small hole gives a large depth of field.
If you want to maximise depth of field, you should use smaller apertures. Later in the course, in the landscape lessons, we'll cover the more advanced technique of using hyperfocal distance because very small apertures can introduce a slight distortion to your shot. For now though just work with your smallest aperture (biggest number, eg f22).

Tripod alternatives
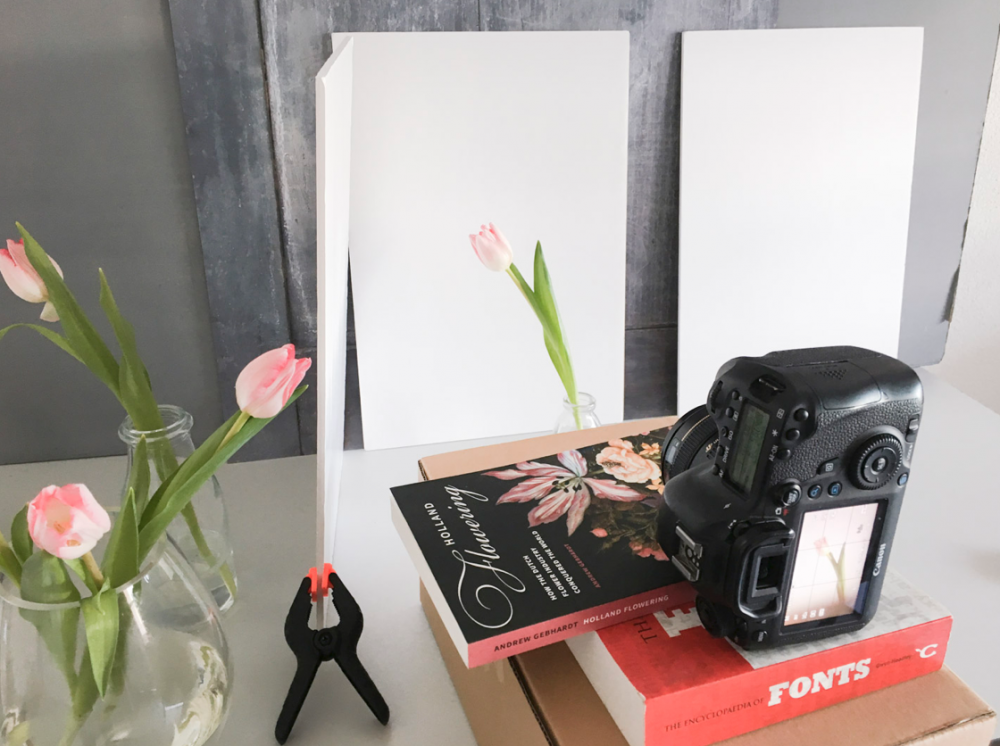
Don't forget you can use a pile of books, the ground or a bag of rice instead of a tripod.
THIS WEEK'S PROJECT: MAXIMISING DEPTH OF FIELD WITHOUT CAMERA SHAKE
You can use a landscape for this homework, or just something you set up on your table top. The critical steps are to use a small aperture, and to think carefully where you focus. If you are working outside in bright daylight, you probably won't need a tripod, so try to do the homework either inside, or when the sun is less bright.
1. Sturdy tripod (or camera placed somewhere safe on the ground or on your camera bag).
2. Low ISO (100 or 200) to maximise image quality.
3. Cable release or self timer to avoid shutter release camera shake.
4. Unless you have a mirrorless camera, consider using the mirror lock up function to avoid internal vibrations.
5. The aperture will be your main consideration - use depth of field charts (available online - search for "depth of field tables") or the depth of field preview button to estimate a good starting point.
6. Use aperture priority or manual mode. Remember everything you know about over/under exposure.
7. Use a tripod. You may think you can hand hold at 1/30th second, but you really can't. Review hand held images at 100% and be very critical. And don't even try to hand hold a macro shot at anything slower than 1/1000th second - everything is magnified with macro including camera shake.
8. Don't forget your composition.

Canon 5DIV, 50mm, ISO100, f13, 0.3 sec
1. If you use the app, share in the Tripod group.
2. On Instagram, share with the hashtag #AYearWithMyCamera.
Don’t forget there’s an A Year With My Camera app where you can meet other people doing the course. Search on your Apple or Android app store, or click here for more details.
