
You want to get noticed online, so your yarn photography needs to be eyecatching. In this post I'll give you 4 things you can do today to take better yarn photos with just your phone.
1. Low light
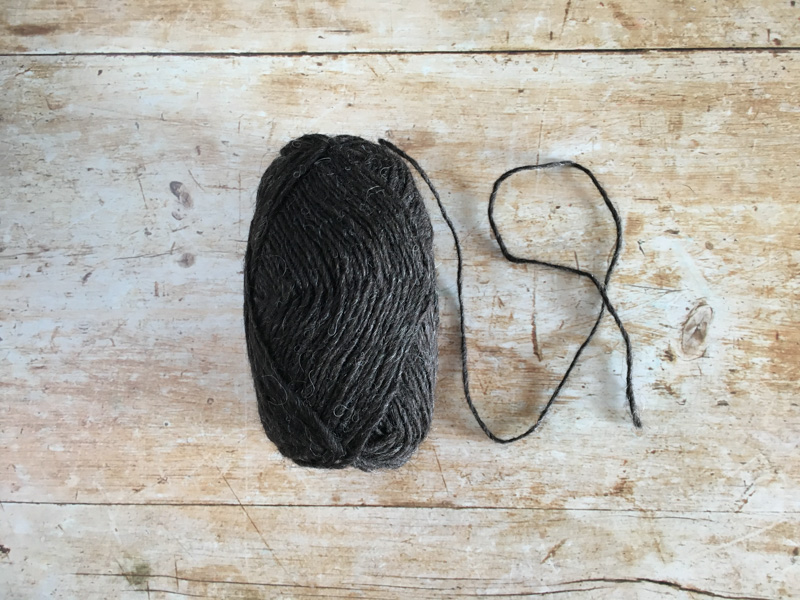
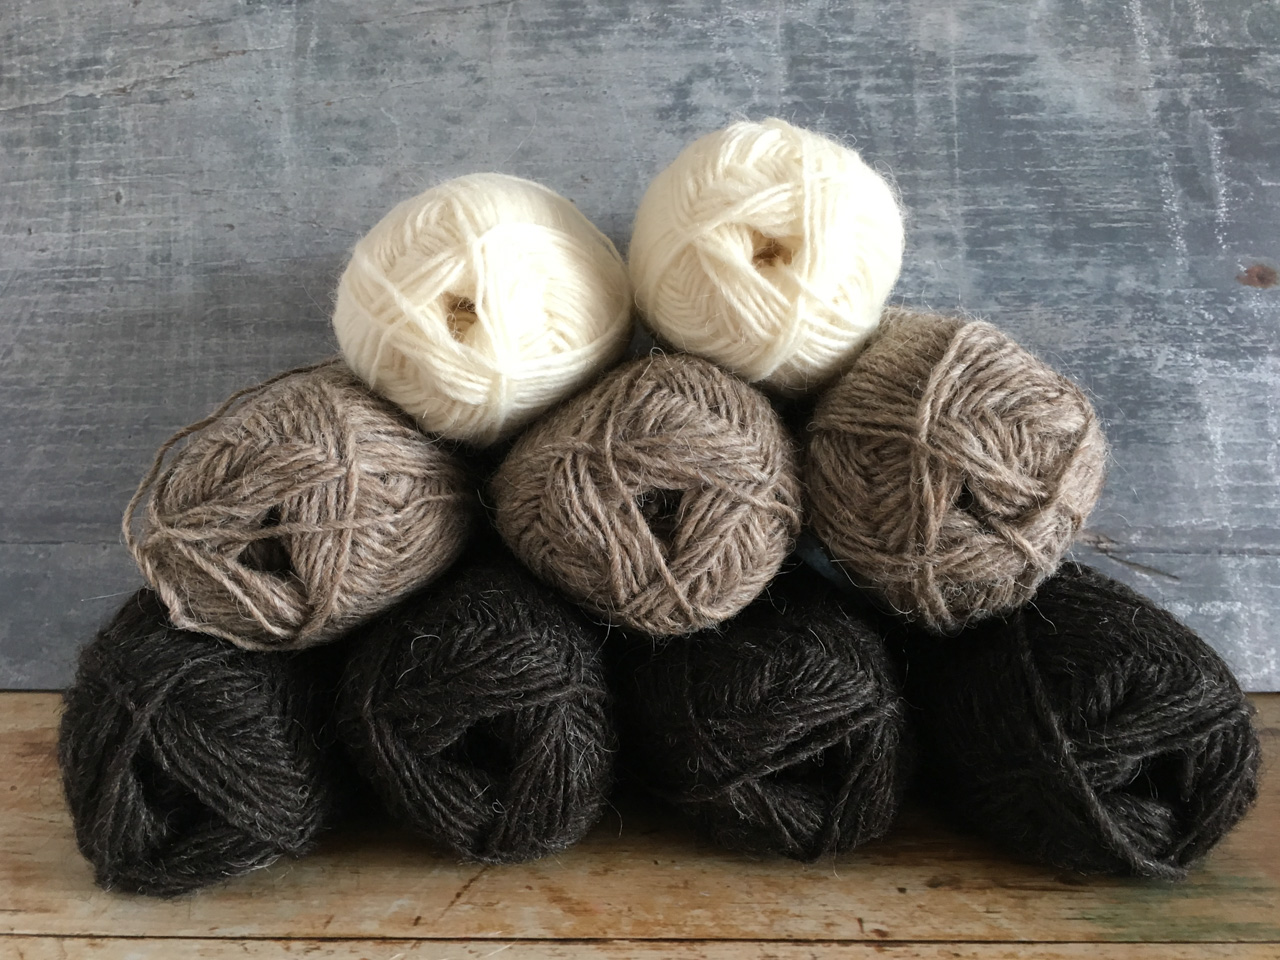
I took some test shots at the weekend with my phone vs my DSLR. In lower light, the phone performed better, unless I used a tripod. If you don't have a tripod, or you don't know how to use all the manual controls on your DSLR, you'll probably be better off using your phone.
Bottom line: don't be afraid to use your phone, especially if you're posting online (not going to print), and definitely if you are working with low light. All these were shot with my phone (iPhone 6S):


Do you need help shooting off auto?
Phone photos are great in the short term, but if your aim this year is to finally take control of your big camera, you might like to try my free online photography workshop. I send a lesson by email every Thursday, taking you step by step through what you need to know. Register here:

2. Background
We don't all have a beautiful barn wall, a well worn coffee table or a slab of marble to set our shots up on. But your background makes or breaks your photo. Get rid of clutter and distractions, and you'll be taking better photos than 90% of everyone else out there.

A clean table next to a clean wall is all you need. If your wall is too busy, you can prop up white foam core or painted plasterboard.
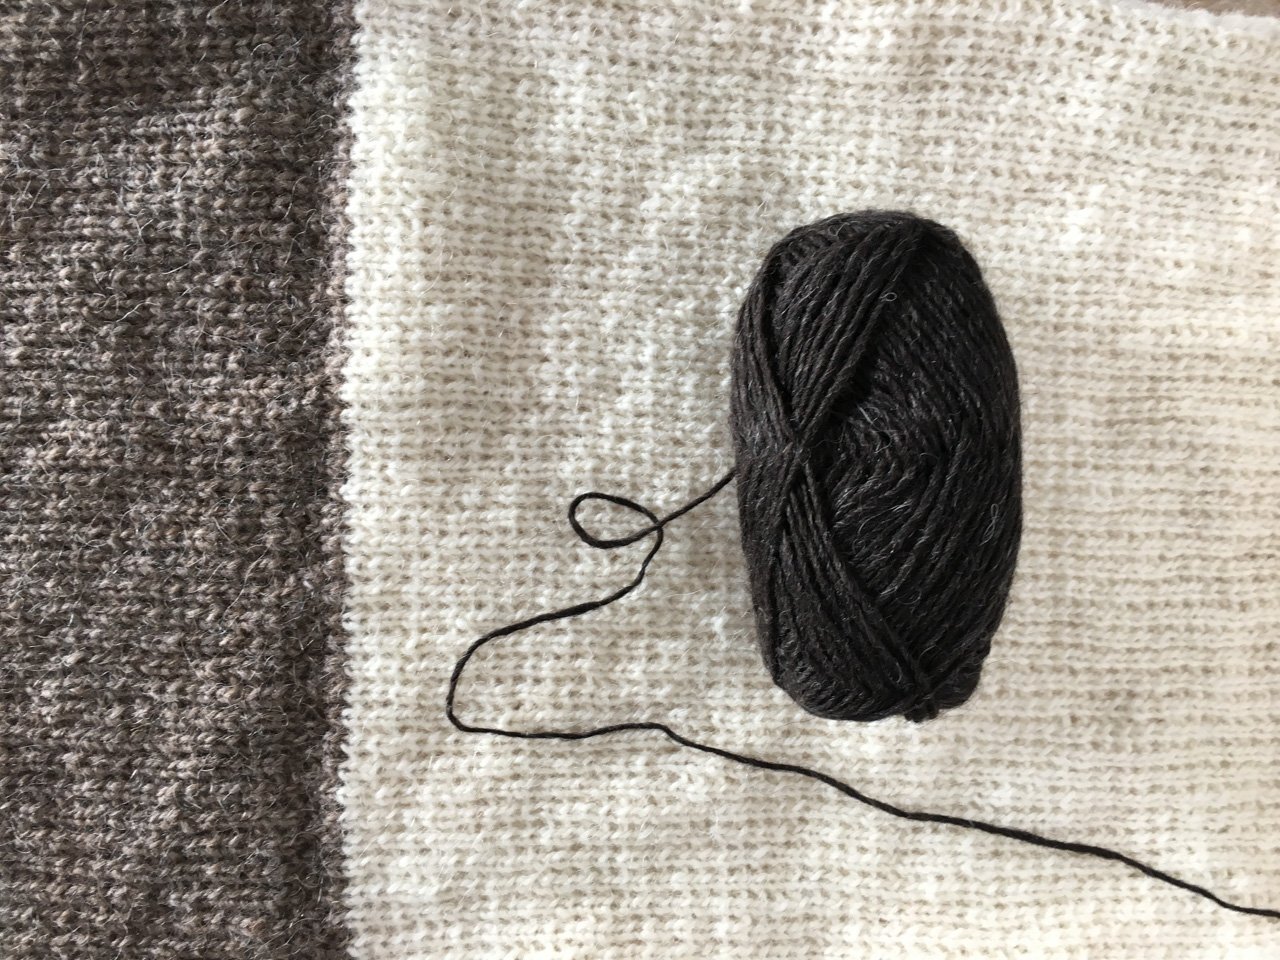
I don't have a worn coffee table or a slab of marble. But I do have some vinyl backdrops from Capture by Lucy. Lucy takes photographs of interesting textures and has them printed on high quality vinyl at high resolution.
If you are buying backdrops (search online for "photographers' vinyl backdrops"), bear these things in mind:
- cheap backdrops are usually pixellated, and you can't use them for close ups (ask to see images taken by customers, and zoom in to see how authentic they look)
- vinyl is better than paper if you are going to reuse (it doesn't crease and you can dry it)
- think about the tones you want in your images - warm or cold - and pick accordingly
- check the size if you're buying online - they might show you a big version on the sales page, but the first option on the checkout is a tiny square
- check whether the vinyl will reflect - you don't want highlights popping back at you

(Not sponsored. I paid for my backdrops and love them.)
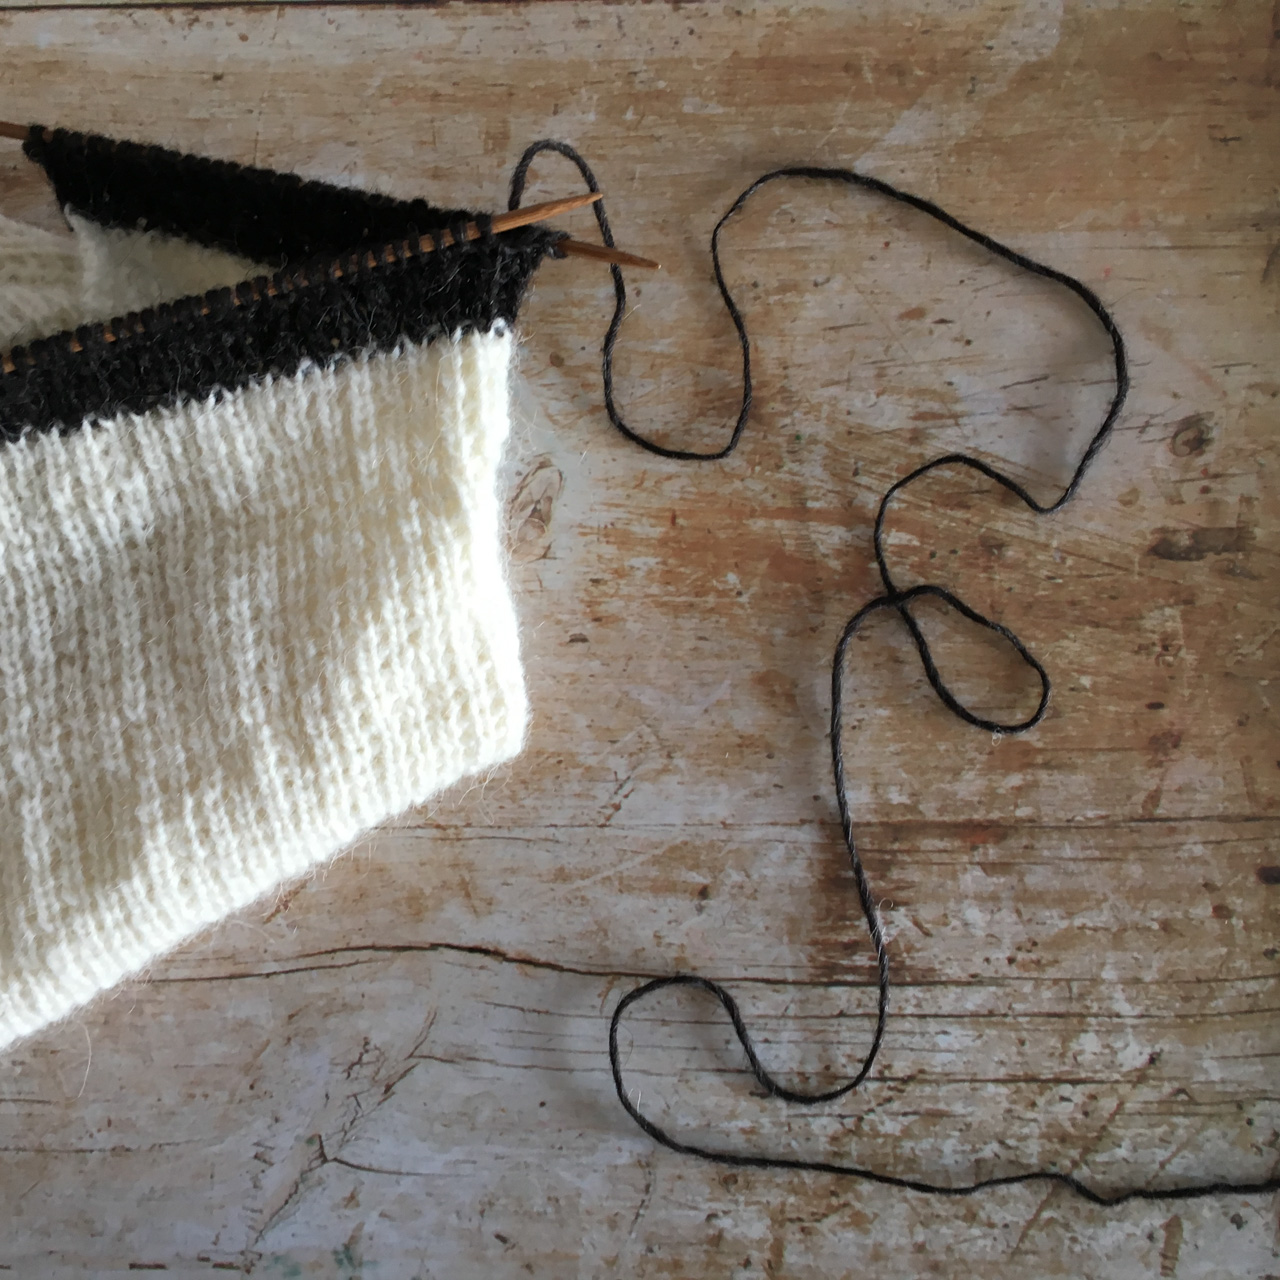
3. Use a reflector
For interesting shots with lots of texture, arrange your set up so the light is coming from the side. Then to avoid a very dark shadow on the opposite side, use something white to reflect light back into the shadows:

This is a small piece of foamcore, but you can use white card, a white tea towel, a piece of paper - anything that will pop a bit of light back.
The first image is taken without a reflector, the second is taken with a reflector:
4. Viewpoint
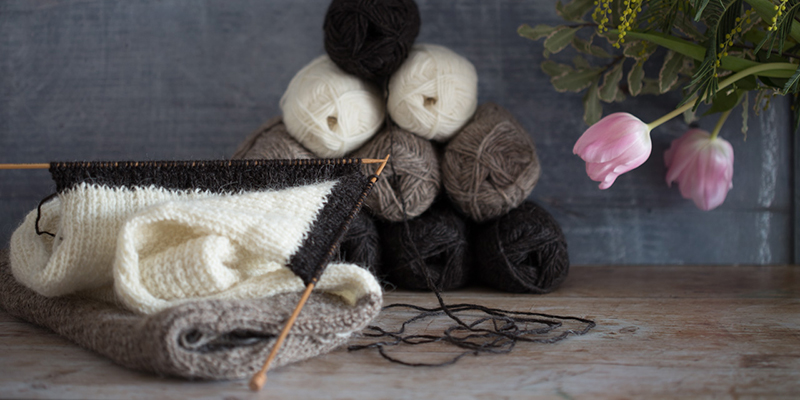
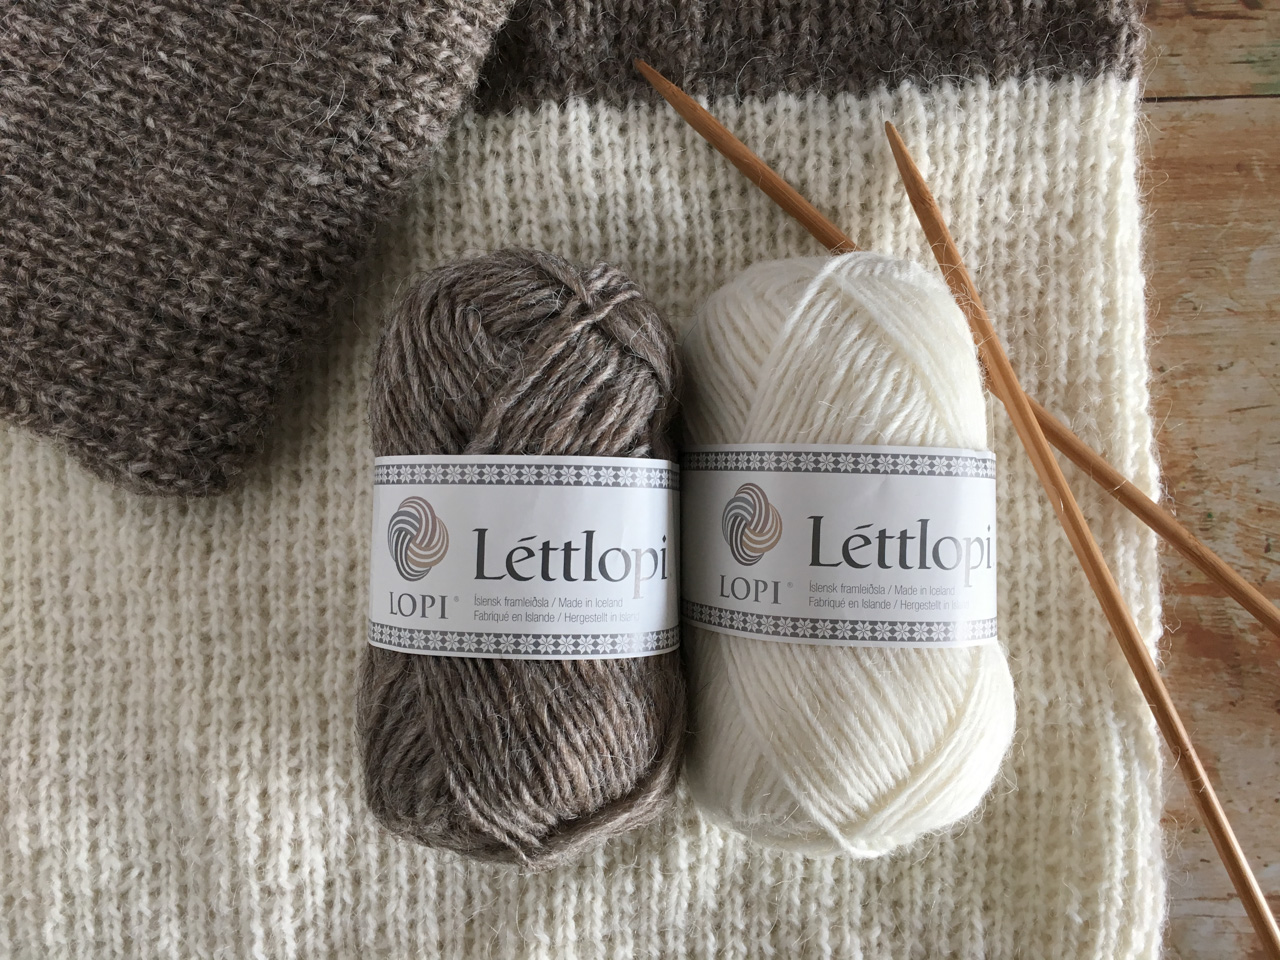
Keep it clean and easy for your viewer. Top-down images are striking because they eliminate everything apart from your subject:
The "45 degree shot" is the equivalent of your viewer standing in your shoes and looking at your subject from adult head height. It allows you to add a bit of context and styling (and top-down images get a bit claustrophobic after a while because there's no horizon):
The "straight along" shot is where you get right down level with your subject and look it square "in the eye". It can be a bit more striking than the 45 degree shot:
Recap:
In low light, if you aren't entirely comfortable with your big camera, use your phone.
Keep clear of clutter, and have a clean background.
Get the light coming in from the side, and use a reflector.
Consider your viewpoint carefully.
Bonus: Hashtags for knit, yarn and crochet
On Instagram, include some hashtags to be found by kindred spirits:
#nevernotknitting #knittersoftheworld #instaknit #IGknitters #knitstagram #knittersofinstagram #knitthat
#yarn #yarnlove #instayarn #yarnaddict #yarnlover #stylecraftyarn
#crochet #crochetersofinstagram #grannysquare #crochetaddict #crochetofinstagram #crochetoftheday #crochetofinsta #crochetlife #instacrochet
#handmade #imadethis #makeityourself #makersgonnamake #creativehappylife
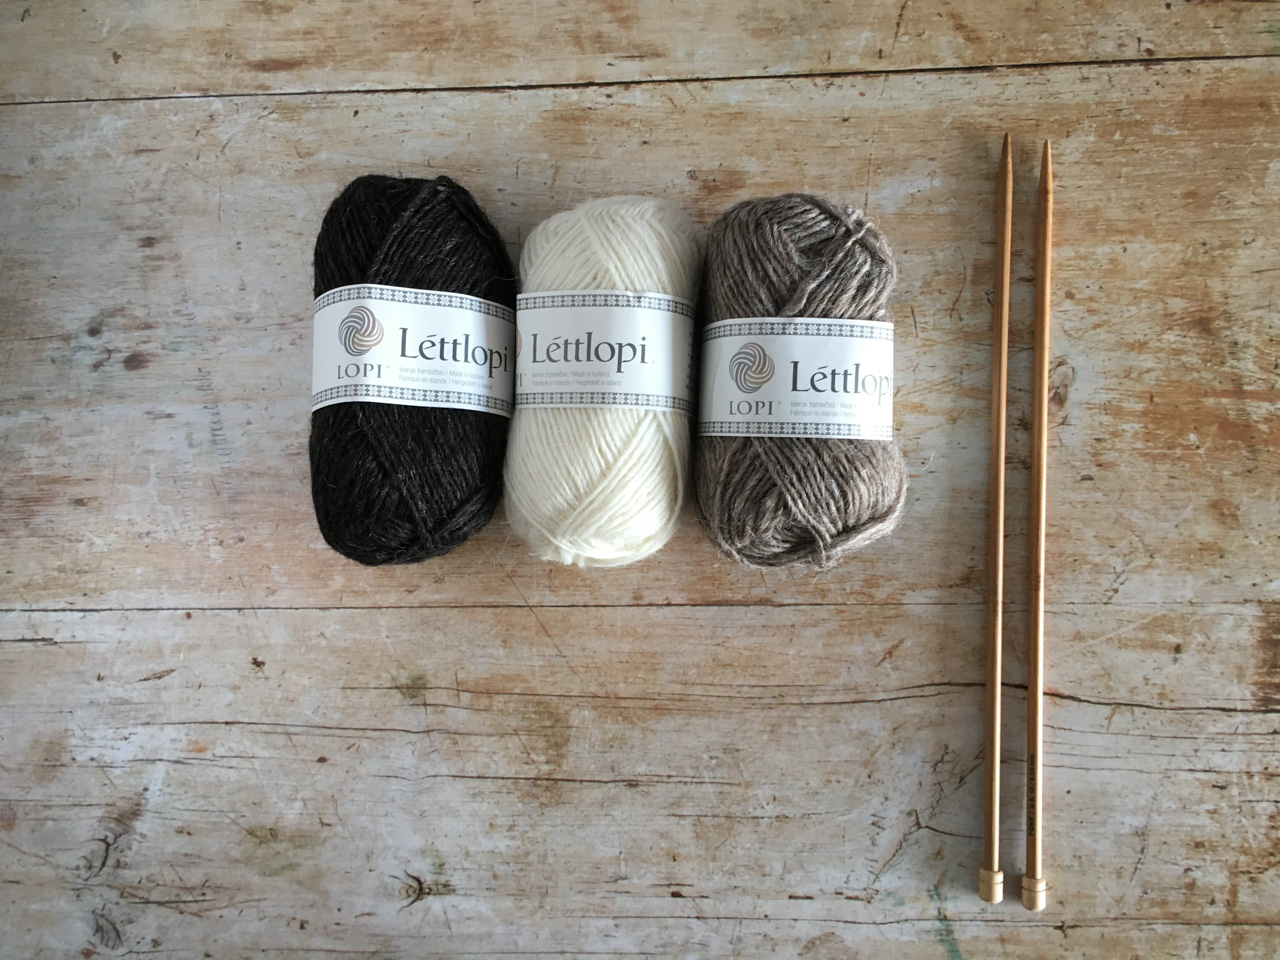
And don't forget to tag your suppliers, eg #lopi #lettlopi
What can't you do with your phone?
All the photos so far in this post were taken with my phone. There are a few things you can't do with your phone though -
You have no control over your aperture, so you can't easily get those lovely blurred background shots:

f2.8, 1/13 sec (tripod), ISO 100, 100mm
You can't do macro (close up) images:

f 2.8, 1/3 sec (tripod), ISO 100m, 100mm macro
Your phone sensor might struggle if you have both darks and lights in the same image. In this iPhone image, the highlights on the white wool have blown out:

The same setup taken with my Canon 6D keeps all the detail in the darks and the highlights (because of the more expensive and bigger sensor):

There's a lot to learn, but you don't need to do it all at once. Today, pick one of the 4 quick fixes I mentioned at the beginning of the post. And then if you want to do more, join my free online photography workshop. One lesson each week, step by step, noticeable progress: